
The Exchange server being updated should be in a clean state if you follow the steps outlined in part 2 of this series. Let us continue with installing the CU and applicable .NET Framework.
This article loosely follows the guidance from another great Exchange gurus Paul Cunningham. You can check out his post here.
You may ask: “Tom, you are just re-inventing the wheel then if others have done it many times before. Why bother documenting it on your blog?” For me, it’s always good to enhance my knowledge through blogging and to complement with screenshots or additional info that others might have missed.
First, set the PowerShell execution policy on the Exchange server to Unrestricted.

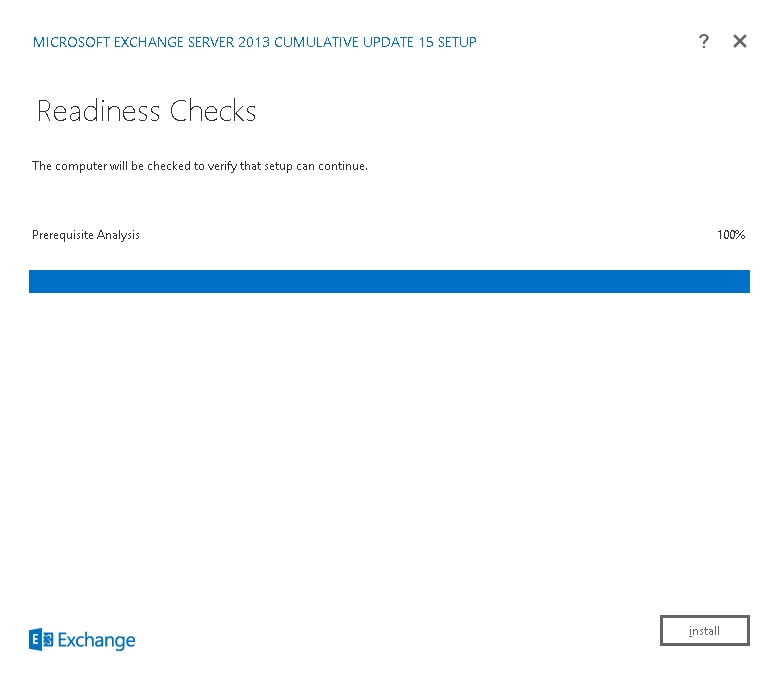
Then, launch Setup.exe from the installer directory.


If your server is blocked from connecting to update server directly (i.e. communication being restricted to internal WSUS), you can ignore and continue with the install.


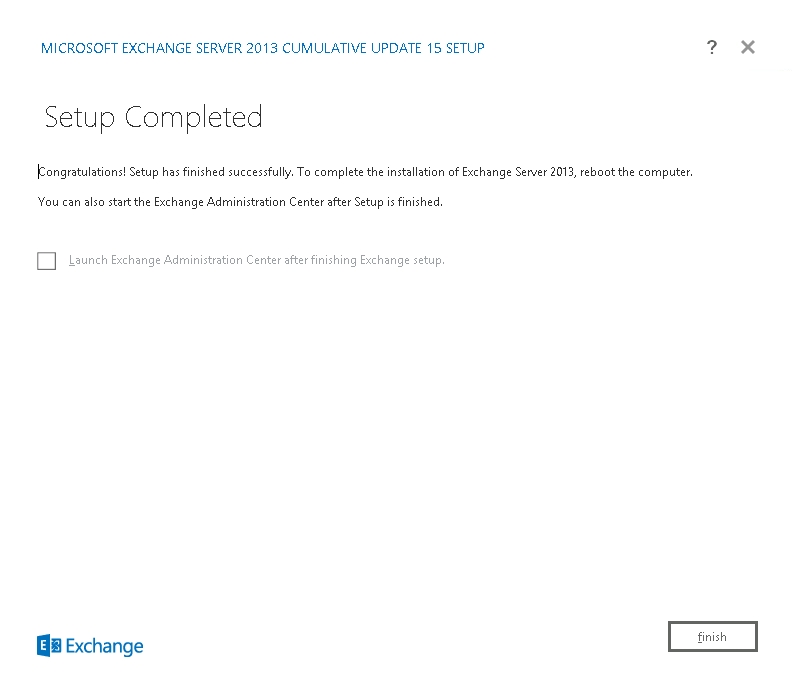

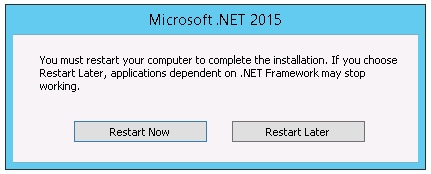
Restart the server before proceeding with steps below.
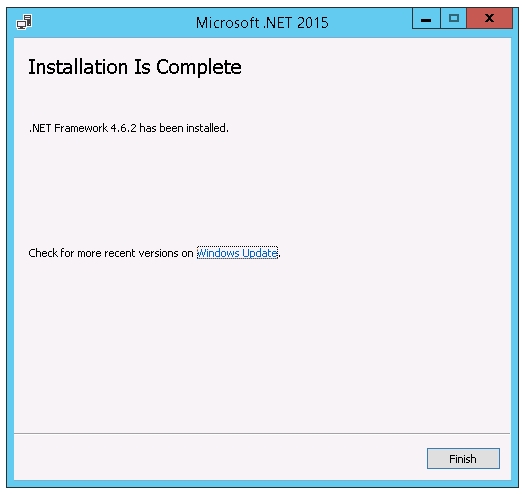
If applicable, we will now upgrade .NET Framework to 4.6.2. This is required before we can install CU beyond version 15 in the future.


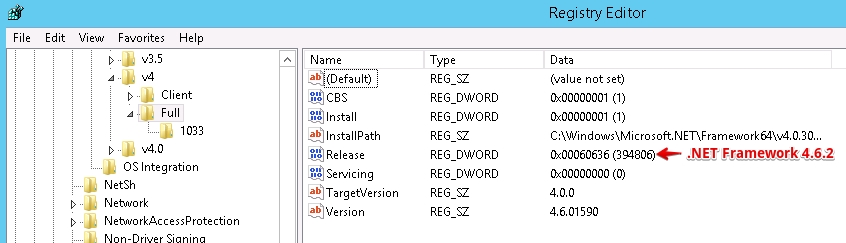
After reboot, you can verify the version of .NET Framework installed under HKEY_LOCAL_MACHINE\SOFTWARE\Microsoft\NET Framework Setup\NDP\v4\Full.
Once the server is back online, review the event logs to make sure the server is in a healthy state. Then, proceed, removing the server from maintenance (assuming again you have more than one Exchange servers set up within a DAG).
As a reminder, launch Exchange Management Shell as administrator before running the commands below. Otherwise, it will fail.
Here are the commands:
- Set-ServerComponentState ServerName -Component ServerWideOffline -State Active -Requester Maintenance
- Resume-ClusterNode –Name ServerName
- Set-MailboxServer –Identity ServerName –DatabaseCopyActivationDisabledAndMoveNow $False
- Set-MailboxServer –Identity ServerName –DatabaseCopyAutoActivationPolicy Unrestricted
- Set-ServerComponentState –Identity ServerName –Component HubTransport –State Active –Requester Maintenance
- Restart-Service MSExchangeTransport
- Restart-Service MSExchangeFrontEndTransport

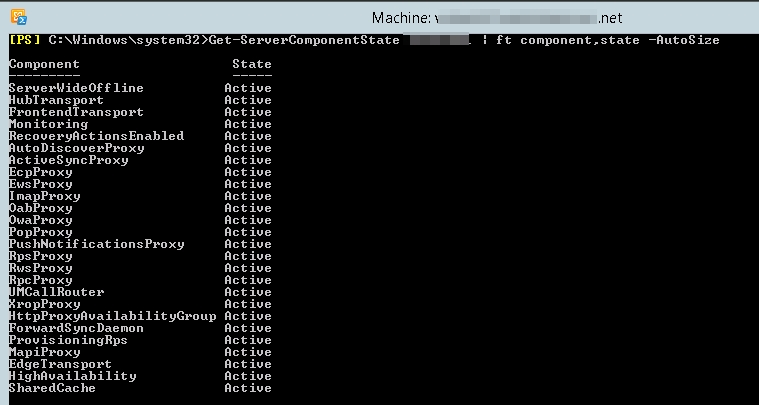
Again, we will confirm server is out of maintenance mode by running:
- Get-ServerComponentState <ServerName> | ft Component,State –Autosize
All components should show Active.
Additional steps to take are:
- Verify all cluster nodes are up (if you have a DAG): Get-ClusterNode
- Test server health: Test-ServiceHealth

- Check database copy status of DAG: Get-MailboxDatabaseCopyStatus
- Test replication health of DAG: Test-ReplicationHealth

We will now move the database back to the server (Move-ActiveMailboxDatabase DB -ActivateOnServer Server). Afterward, test MAPI connectivity with this command: Test-MAPIConnectivity

Due to an issue with attachment size when sending email from mobile devices, we modified the value within specific web.config files manually. This value gets overwritten each time a new CU is installed. Thus, we need to update the value of these files once more to avoid the same from occurring.
- On Client Access Server: %ExchangeInstallPath%FrontEnd\HttpProxy\Sync\web.config
- On Mailbox Server: %ExchangeInstallPath%ClientAccess\Sync\web.config
And we are done!
I will sure update the posts within this series if there are significant changes with future CU update.
