
This is the 3rd and final post on the use of Apple Configurator. You may check out my first two posts via the links below.
- Steps to enroll non-DEP device into Apple DEP with Apple Configurator for VMware Workspace ONE UEM by AirWatch
- Automated enrollment into both Apple DEP and VMware Workspace ONE UEM by AirWatch
Before we proceed further, I had a lengthy discussion with VMware Workspace ONE technical support on this use case:
- This enrollment method should not be necessary or followed once you get a non-DEP device added to Apple DEP. As you go through the setup assistant which prompts you to download and apply a remote management profile over the air, it already contains details of the MDM profile (OG, staging user, etc.) and thus it will be enrolled in a pre-defined OG once the initial setup completes. This is recommended to enrolling the device as a true DEP supervised device.
- Perhaps this is good for devices running iOS 10 and below that cannot be added to Apple DEP through Apple Configurator. Admins can still utilize this program to supervise such devices and manage additional features with MDM such as VMware Workspace ONE UEM.
- Unlike a DEP device, however, the drawback with this approach is that the device will need to be supervised once again with Apple Configurator if it’s ever device-wiped resulting in the loss of supervision.
Similar to Over-The-Air (OTA) enrollment that deploys both a DEP and MDM profiles from your MDM server to an existing DEP device, you can add a non-DEP device into Apple DEP and push both the DEP and MDM profiles in the same sequence with two (or one if you prefer) different blueprints with manual enrollment.
- 1st blueprint: Add the device into Apple DEP.
- 2nd blueprint: Enroll the device into VMware Workspace ONE UEM.
To start, we need to set up and export the configuration from the VMware Workspace ONE web console. Go to GROUPS & SETTINGS -> All Settings -> Devices & Users -> Apple -> Automated Enrollment (or Apple Configurator in older console version.)

* You may need to select Override next to Current Setting before proceeding further.
Go ahead and enable Enable Automated Enrollment. Then select the applicable fields. For Default Staging User, I selected an account configured for Single User.

At the bottom of the page, click SAVE to save the setting. From here, you can either export the setting as .mobileconfig for the 2nd blueprint in Apple Configurator which we will create shortly. Depending on your objective, you can also copy the enrollment URL and create a separate blueprint to enroll the device without adding it to DEP.
Let’s take a look at what’s inside the device management profile (.mobileconfig file.)

Click Show Profile.


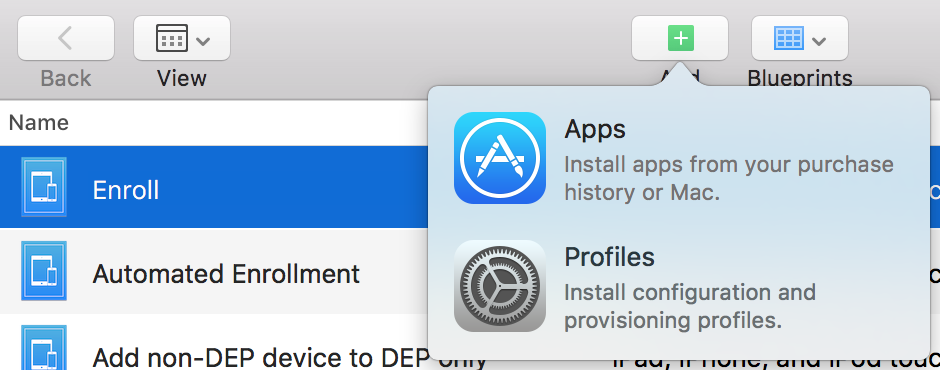
Let’s return to Apple Configurator and create the blueprints.
For the 1st blueprint which we will rename as Prepare, follow the screenshots below and change as you see fit.


The confusion comes with both steps 8 and 9 in chapter 4 under the section Prepare a Blueprint to Enroll with an MDM Profile of this guide. It actually assumes you have already set up both an MDM server and a supervision identity. Refer to my 1st post here for the steps required.


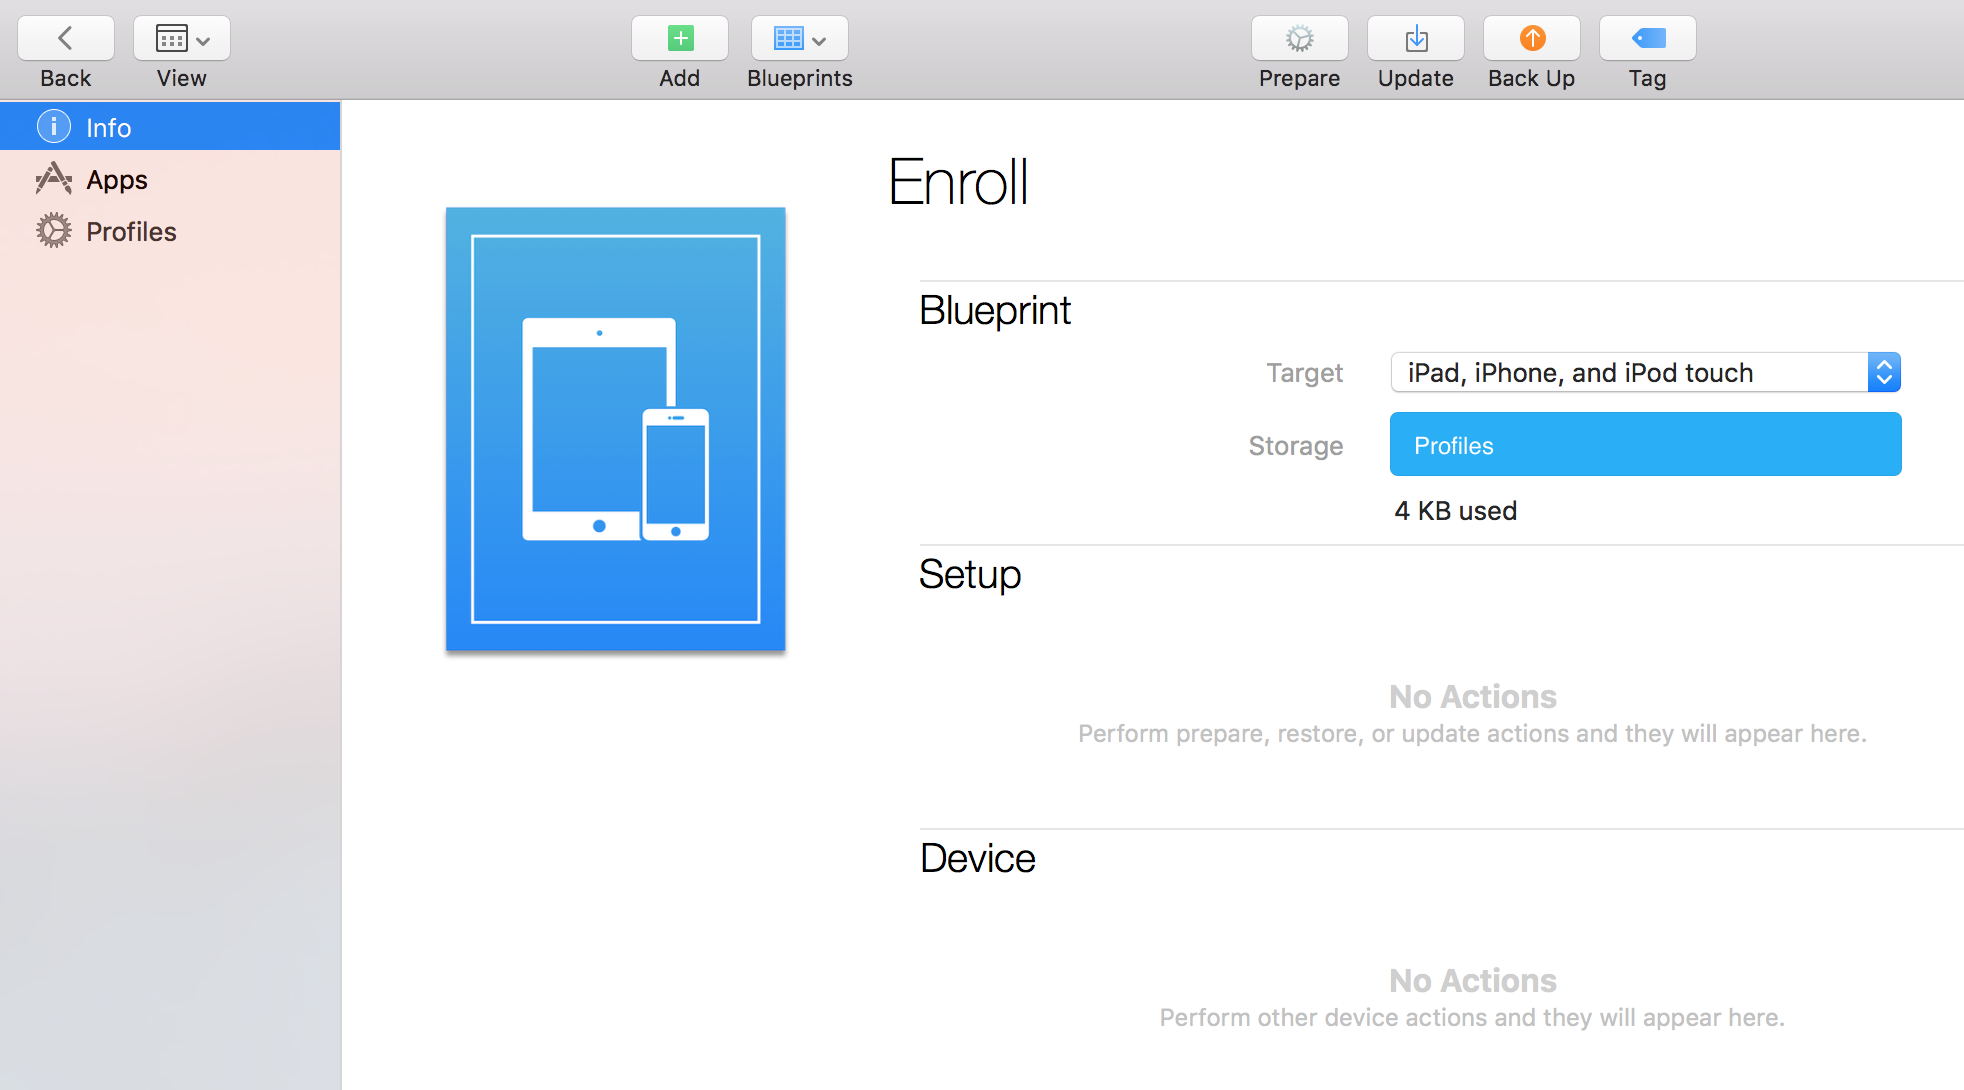
For the 2nd blueprint which we will rename as Enroll, do not click Prepare. Instead, import the device management profile (.mobileconfig file) which contains unique info about the MDM server, group ID and username to be assigned to the device. This is the additional step that’s not taken after adding the non-DEP device into Apple DEP in my first blog post on this subject.


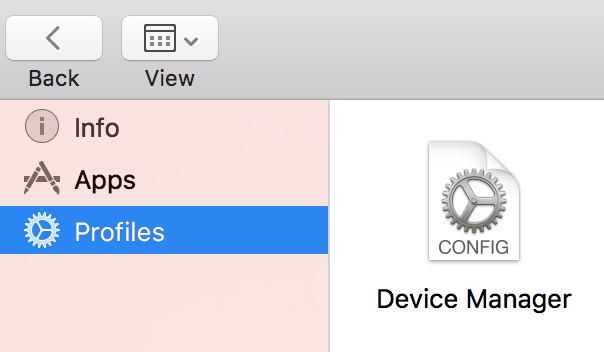
The profile can be viewed separately in the Profiles section within the blueprint.

As mentioned earlier, you can also copy the enrollment URL instead of exporting and importing the .mobileconfig file to finish enrolling your device. The steps for creating this blueprint are the same as the 1st blueprint except you will create a new MDM server with the specific enrollment URL.
However, you may be surprised to know that this enrollment method is no longer supported per VMware Workspace ONE technical support. You will see why in just a moment.


I then came across the error below, but I was able to keep going after. Per technical support, it turns out the enrollment URL method is no longer supported.


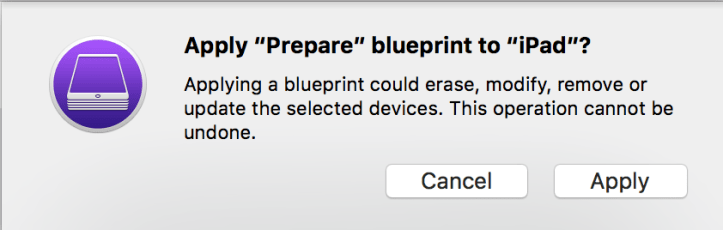
From here on, the steps to apply the blueprint to the device are the same as the ones outlined in my first post of this subject. In this case, however, we will apply the 1st blueprint and repeat the same steps to apply the 2nd blueprint.

Upon completion of the steps above, we should see a newly added DEP device which is also enrolled in VMware Workspace ONE UEM.
As always, stay mobile!
