
So far, we’ve upgraded the core components (database, devices services, and console) and one of the auxiliary components (Secure Email Gateway). Let’s go through the steps and upgrade another commonly used auxiliary component: VMware Tunnel (Proxy and Per-App VPN).
- Part 1 – Prerequisites and Database Upgrade
- Part 2 – Device Services and Console Upgrade
- Part 3 – Secure Email Gateway Upgrade
- Part 4 – VM Tunnel (Proxy and Per-App VPN) Upgrade (you are here!)
- Part 5 – Content Gateway Upgrade
VMware Tunnel (or formerly known as Mobile Access Gateway/AirWatch Tunnel) is used to provide secure access to corporate resources. In my environment, I use VMware Tunnel Proxy for providing Intranet access through VMware Browser. I also use VMware Per-App Tunnel for secure access to internal resources from both third party and in-house applications.
To upgrade the VMware Tunnel Proxy, start by performing couple validation checks first. The first one is to visit https://your_WorkspaceONE_URL:2001/awcm/status. It should return 200 if it is successful.

Next, go to Groups & Settings -> All Settings -> System -> Enterprise Integration -> VMware Tunnel -> Configuration. Then click on TEST CONNECTION and confirm all tests are successful.


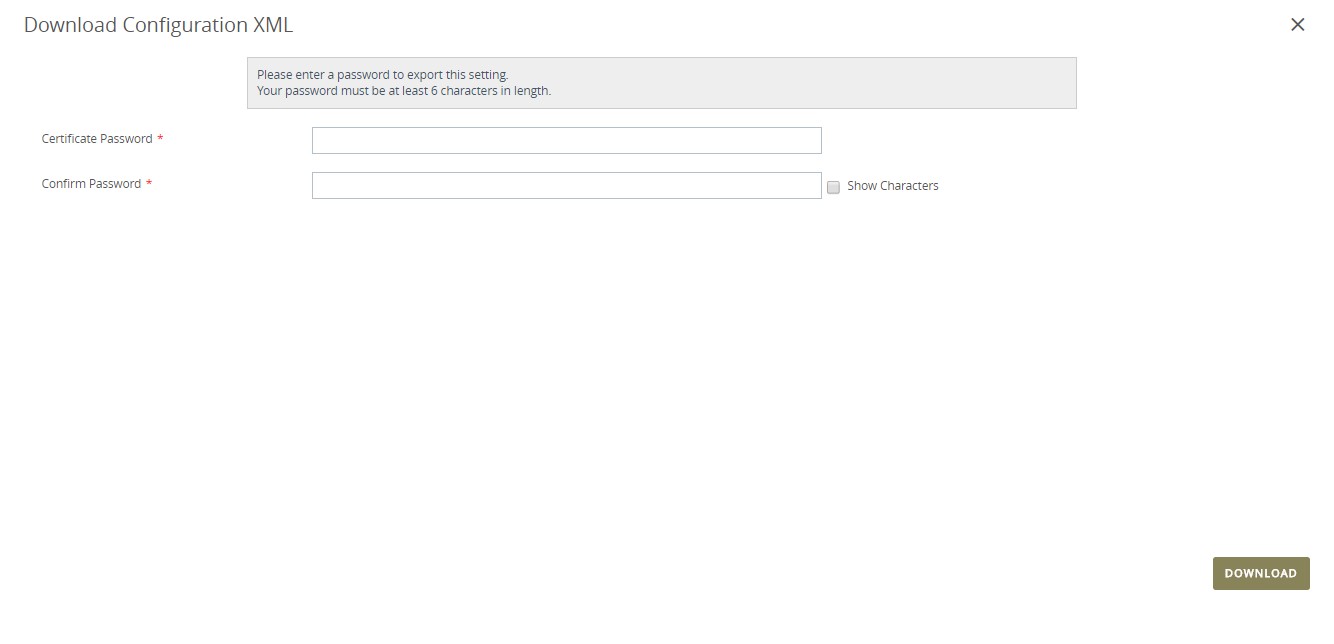
From the same section of the page, click DOWNLOAD CONFIGURATION XML file and fill in the certificate password. Then click DOWNLOAD and save to the servers (Relay and Endpoint).
My VMware Tunnel Proxy was installed on the Windows servers. So I would click Download Windows Installer further below.

Once again, it redirects me to the VMware page to download the installer. Go ahead and save it to the server(s) for now.
* You need to save the same installer to both Relay and Endpoint servers if this is how VMware Tunnel Proxy was implemented in your environment.


If you have both the Relay and Endpoint servers setup, you will want to upgrade your Relay server first before upgrading your Endpoint server. The steps for either one is very much the same and I will point out the differences where applicable.
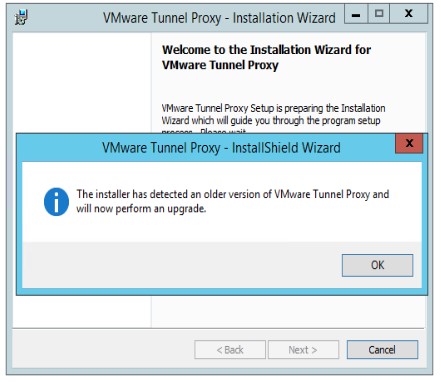
Again, start by right-clicking on the VMware Tunnel Proxy Installer executable and run as administrator.

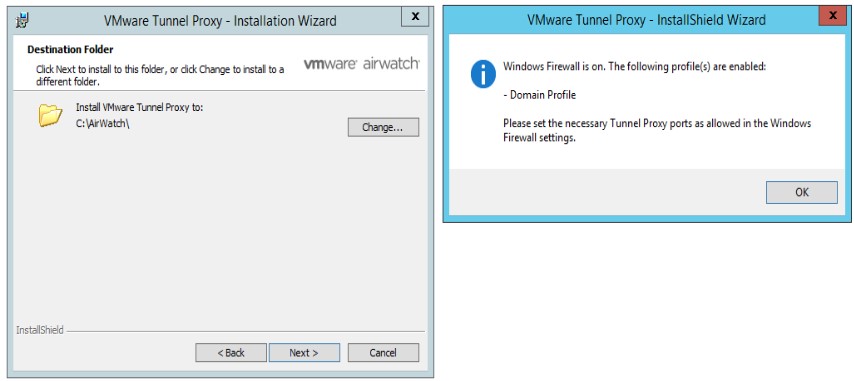
When prompted, browse to the configuration file saved earlier.
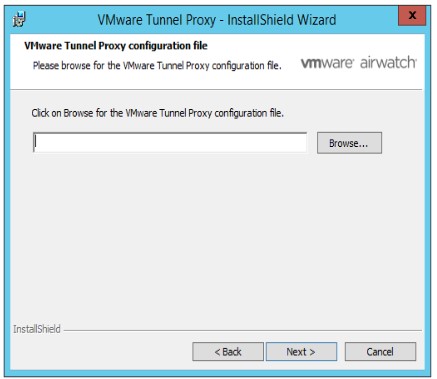
At this time, you need to specify if the install is for Relay or Endpoint.

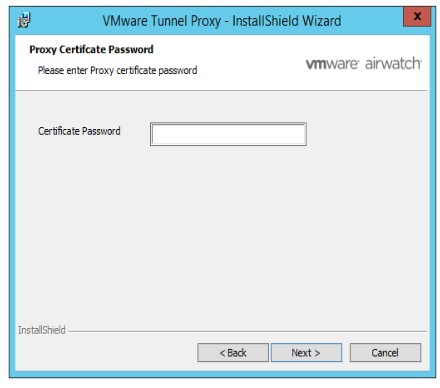
Provide the certificate password that was entered when this file was exported.


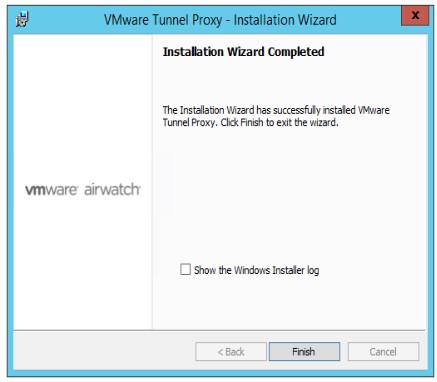
Be sure to reboot once install completes.
Similar to the Secure Email Gateway (SEG) upgrade, I noticed the AirWatch Tunnel Proxy service is gone after the upgrade. Instead, it has been renamed to VMware Tunnel Proxy. This can cause an issue if you monitor individual Windows services with a product such as SolarWinds and now the specific one(s) is gone or renamed.
Before:

After:

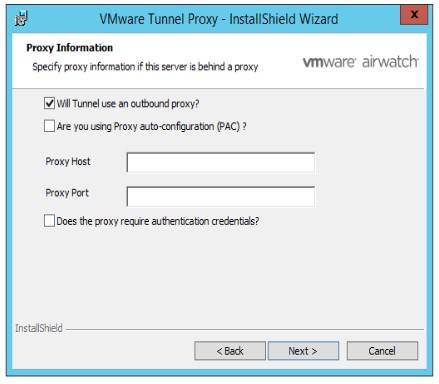
On my Endpoint server, I answered additional questions based on my configuration.

The remaining steps are the same as upgrading the Relay server. Be sure to restart the server once installation completes. Finally, perform the same validation checks that I mentioned earlier in this post to confirm all is well.
The version installed, as of this writing, is 9.4 which no longer matches the version of the console.

Let’s move on and upgrade VMware Tunnel for Per-App VPN. I’ve written a post on this setup which you can access here.
To start, log into the VMware Tunnel admin console. You will have to follow the same steps on both front end and back end servers.
- https://YourVMwareTunnel_Frontend_URL:9443/admin
- https://YourVMwareTunnel_Backend_URL:9443/admin

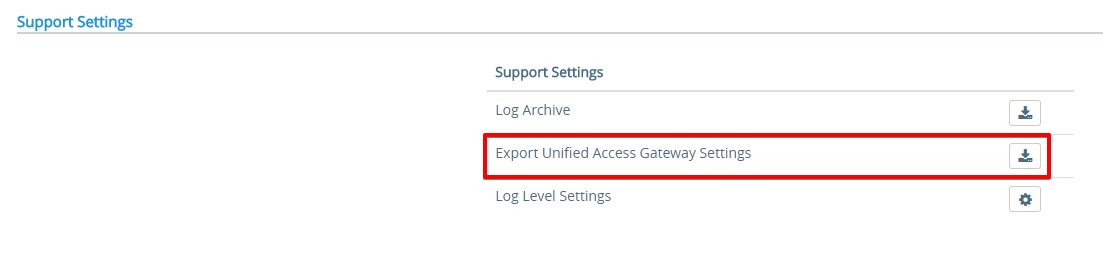
Select Configure Manually. Then scroll down to the bottom of the page and select Export Unified Access Gateway Settings. Make sure to rename the files to distinguish between front end and back end servers.

Then, in the AirWatch web console go to Groups & Settings -> All Settings -> System -> Enterprise Integration -> VMware Tunnel -> Configuration and click on Download Unified Access Gateway. This will redirect you to the VMware site.


Proceed to delete the existing VMware Tunnel appliances in vSphere Web Client (Flash). Then, import the new OVA downloaded earlier and follow the same steps outlined in my other post to complete the install.
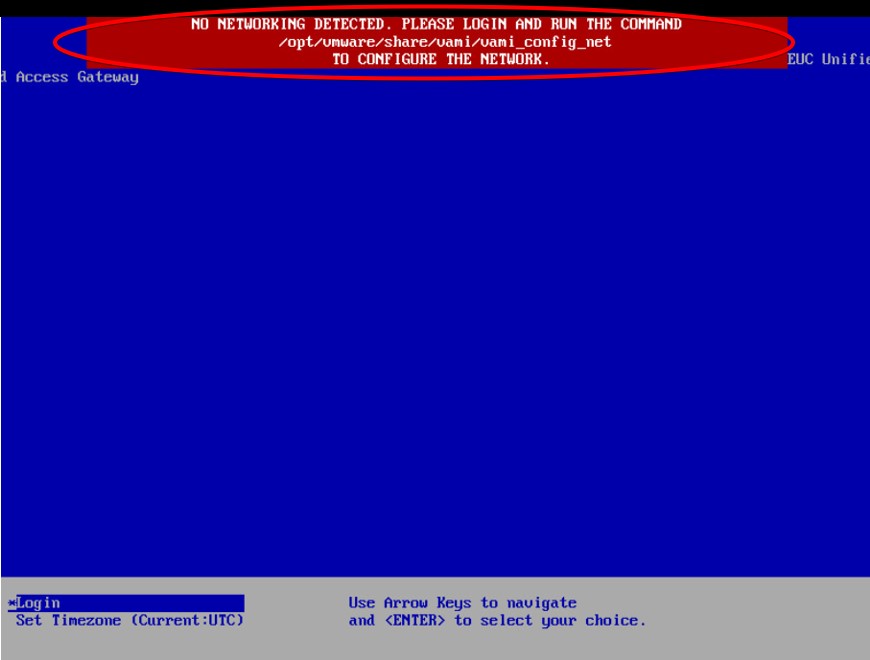
* If you are running vCenter 6.5, do NOT use vSphere Client (HTML5). Otherwise, the networking properties will not get imported into the template.

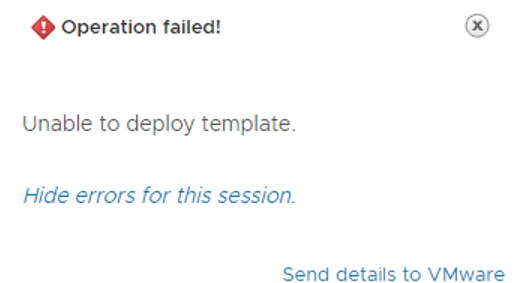
You may get the error below when importing the new appliance if you take too long configuring each of the options during the initial setup.
Once the import completes, log onto the admin console again except this time you will select Import Settings instead of Configure Manually.
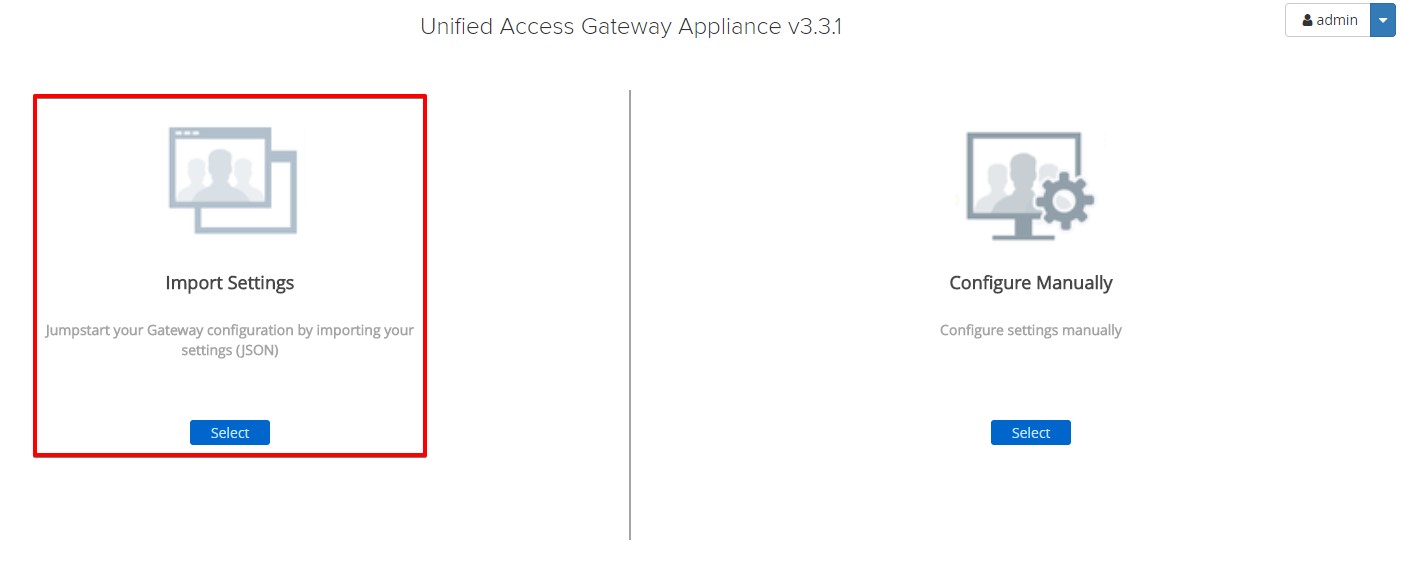
Browse to the JSON file exported previously and click Import. Then enter the credential under AirWatch Components fields and click Import once more.

Asides from testing the Per-App VPN tunnel through your in-house or 3rd party app on your mobile device, you can click on TEST CONNECTION in the AirWatch web console by going to Groups & Settings -> All Settings -> System -> Enterprise Integration -> VMware Tunnel -> Configuration.

In the last part of this series, I will show you the steps I take to upgrade another auxiliary component: Content Gateway.

[…] Part 4 – VM Tunnel (Proxy and Per-App VPN) Upgrade […]
LikeLike