
Welcome back! This is part 2 of the series on implementing Blackberry Enterprise Mobility Server (BEMS). In this post, I will focus on configuring BEMS for Blackberry Push Notifications.
- Part 1: Installation
- Part 2: Configuration (you are here!)
- Part 3: Troubleshooting
Before proceeding further, I highly recommend turning off auto-update within Java. Otherwise, you may run into a compatibility issue with BEMS later on. The same can happen to UEM as well.

As I mentioned in part 1 of this series, you may also want to check and confirm the account specified under Log On As for Good Technology Common Services (Window service) matches what you used during installation. Otherwise, you may run into database connectivity issue during configuration.


To access the BEMS dashboard, you can navigate via either of the URLs below:
- From the BEMS server: https://localhost:8443/dashboard
- From your local workstation: https://BEMS_hostname:8443/dashboard
Unlike UEM, you need to configure most of the settings within each BEMS independently if more than one instance exists in your environment.

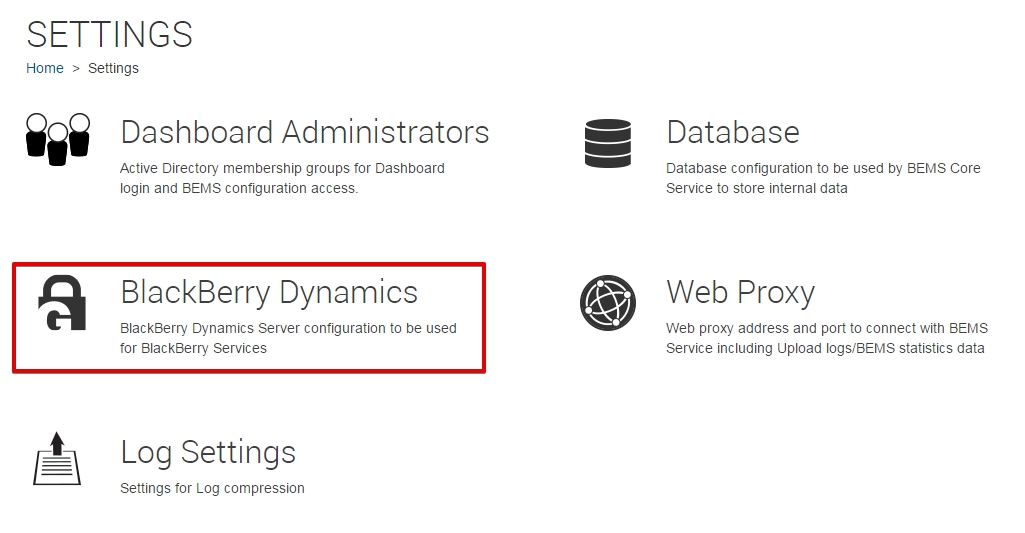
Let’s start with configuring the Blackberry Dynamics server in BEMS.

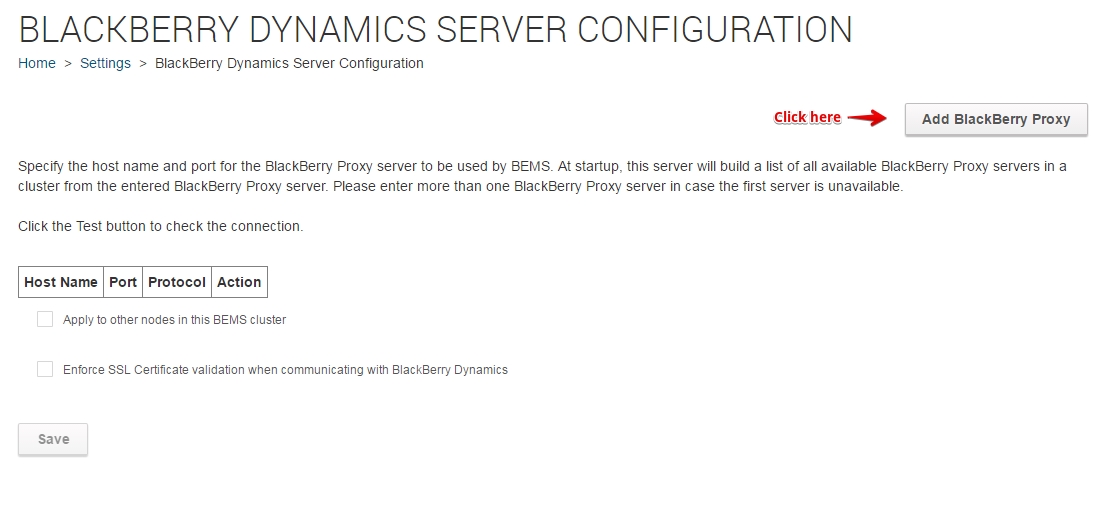 Fill in the hostname as FQDN and specify the protocol that is required in your environment. Usually, http is fine assuming both the proxy server (s) and BEMS server(s) are behind the same firewall.


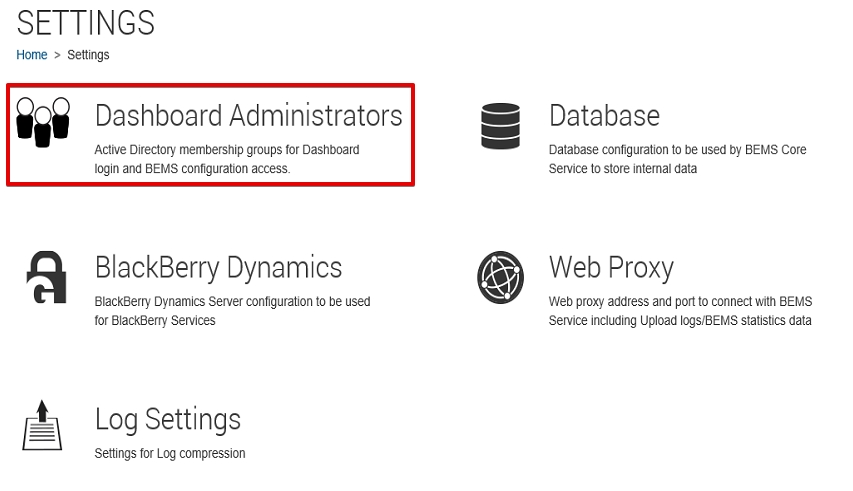
Next, we will add dashboard administrators so that other admins on your team can log into the same dashboard.


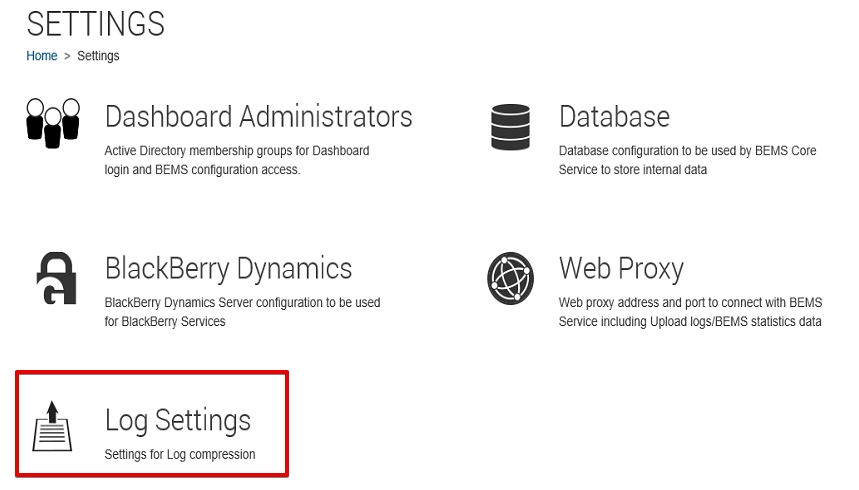
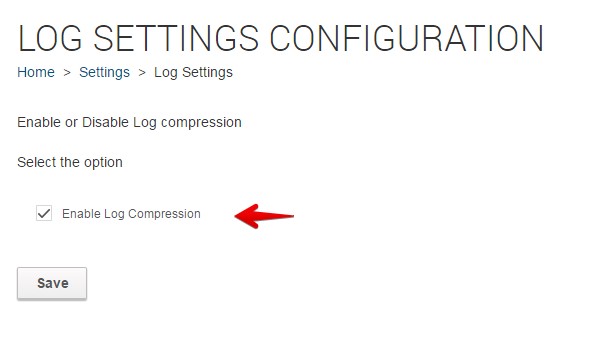
We will now enable log file compression to save valuable disk space on the server.
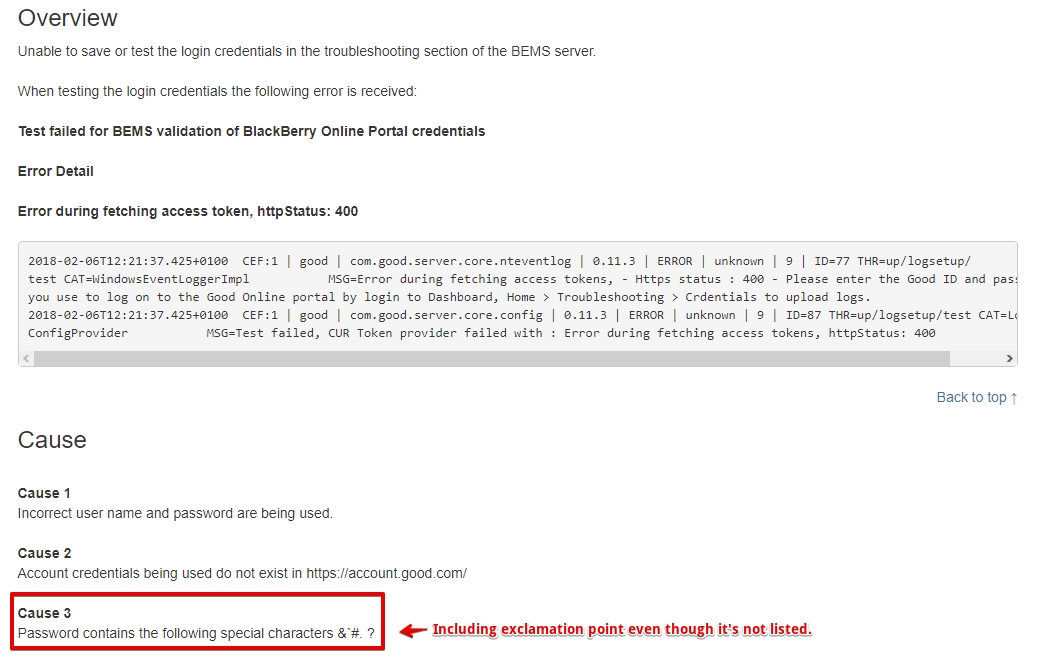
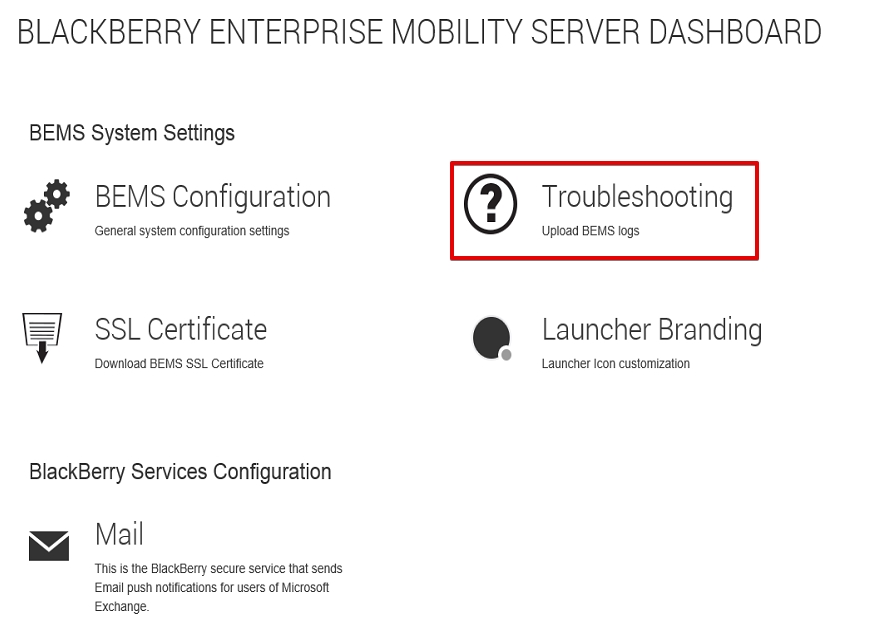
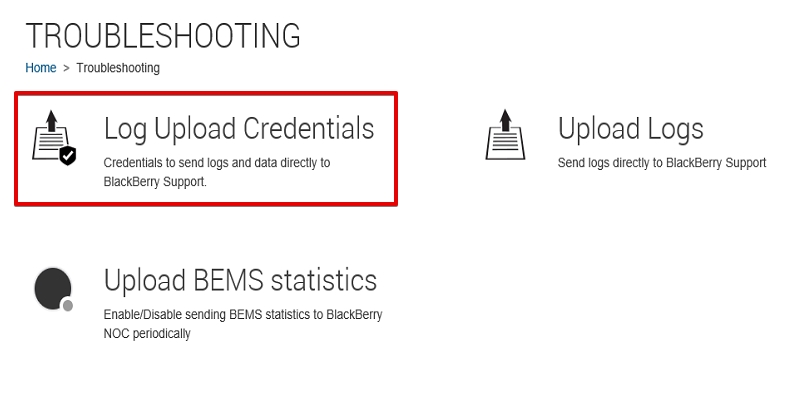
To expedite troubleshooting with Blackberry technical support in the future, it’s best to specify the log upload credentials which should be the same as the one you use to log onto Blackberry myAccount.
Interestingly or not, your online portal password must not contain a list of special characters including an exclamation point per this KB. Why is this an issue is beyond anyone’s guess.
And here’s how to specify the credential.
As I mentioned earlier, you will get the error below if your password contains any special character.

Simply by removing any special character from your password, you will be able to save your credential here.

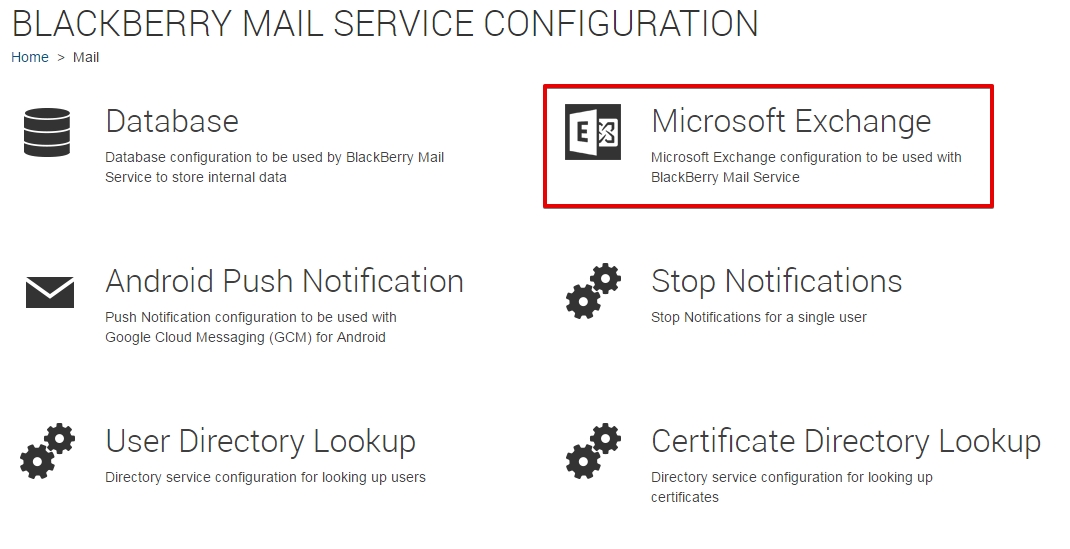
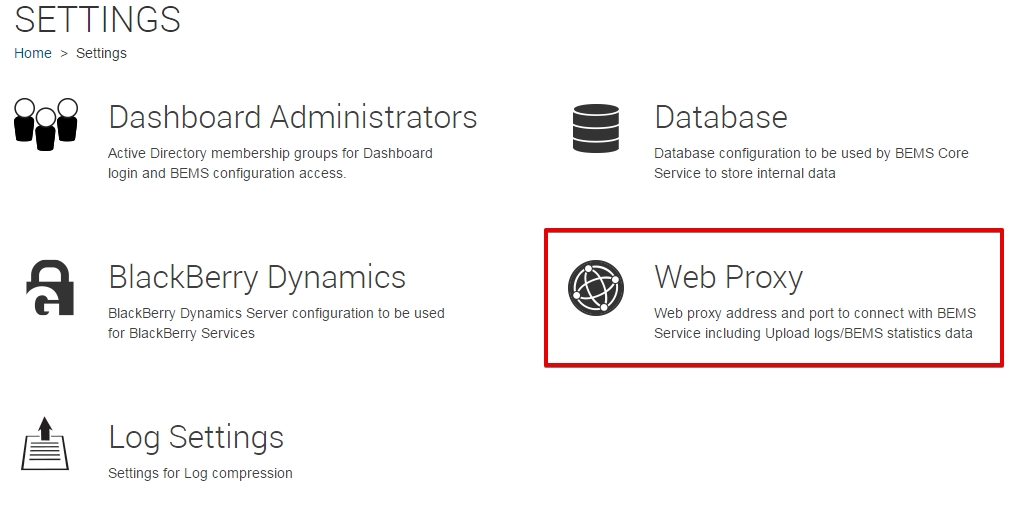
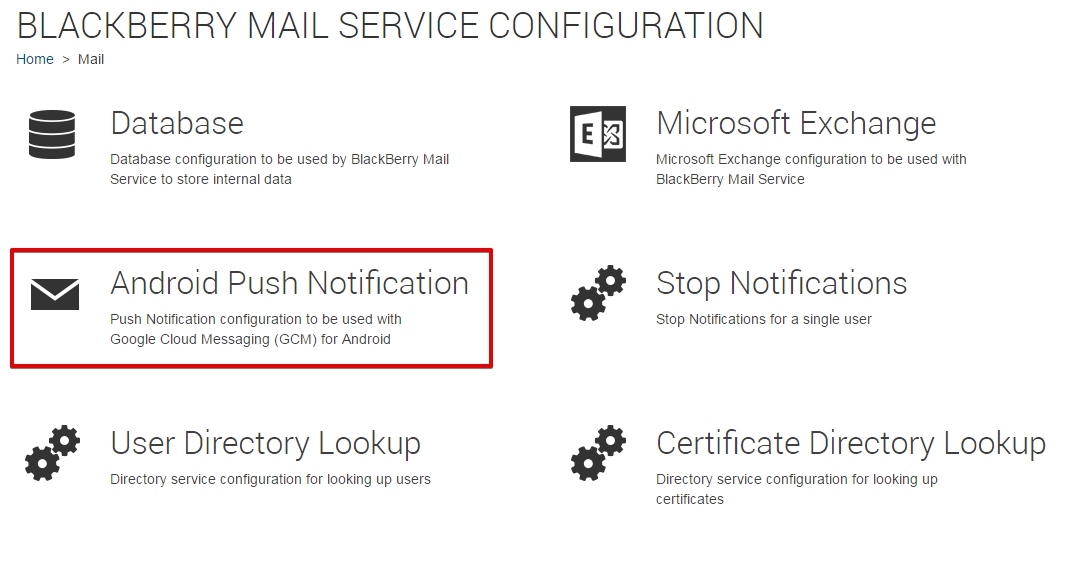
We will now move onto configuring BEMS service. Specifically, we will configure the Push Notification service. Namely, the areas of focus are:
- Database
- Microsoft Exchange Server
- Web Proxy
- Android Push Notifications

For the Database, there should not be anything to configure other than testing to make sure the connection is successful.
If the BEMS database is migrated to SQL AlwaysOn Availability Group (AAG) later on, you will need to set the server to the AlwaysOn Listener as FQDN. Do not use the cluster name or hostname of the server in the cluster.


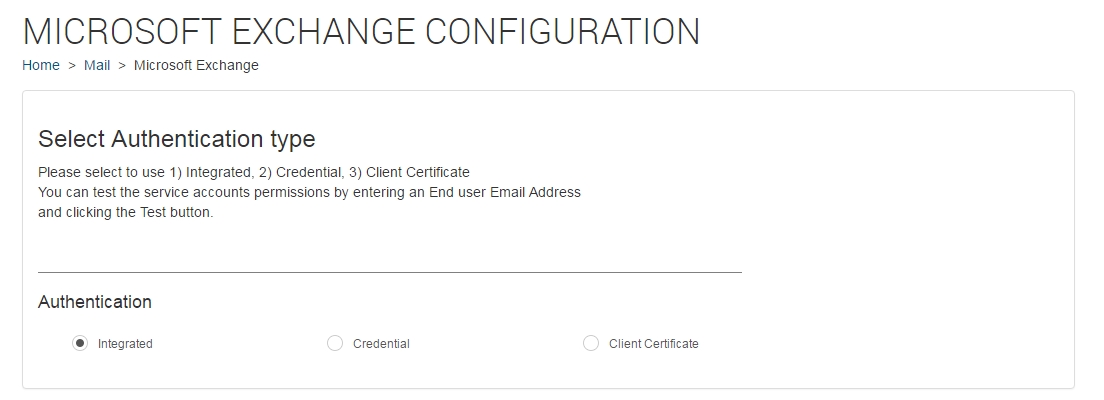
Now, we are ready to configure Microsoft Exchange Server. The exact setting is based on your environment and thus may look different than mine.

We will now configure web proxy server. This may or may not be required depending on your network configuration.
Per Blackberry: “Because APNS pushes are sent using the BlackBerry Dynamics NOC, which resides outside of your enterprise network, a proxy server might be required to access the BlackBerry Dynamics NOC.”
Fill in the information that fits your environment. Then, restart the Good Technology Common Services in the Windows Services Manager for it to take effect.


If you encounter an error similar to the below, check with your network administrator.

In our case, we confirmed an issue with Blackberry support that there is a problem with the SSL handshake from the log:
Line 11545: 2017-12-06T16:07:46.664-0500 CEF:1 | good | com.good.server.core.config | 0.11.2 | ERROR | unknown | 9 | ID=87 THR=er/webproxy/test CAT=WebProxyConfigProvider MSG=Test proxy failed for proxy Web Proxy (192.168.5.57:80; AuthType: Ntlm; Username: bemsadmin; Domain: domain; Password: ***; configsync_useLocalConfig: false; useProxyEWS: false) for error “General SSLEngine problem”
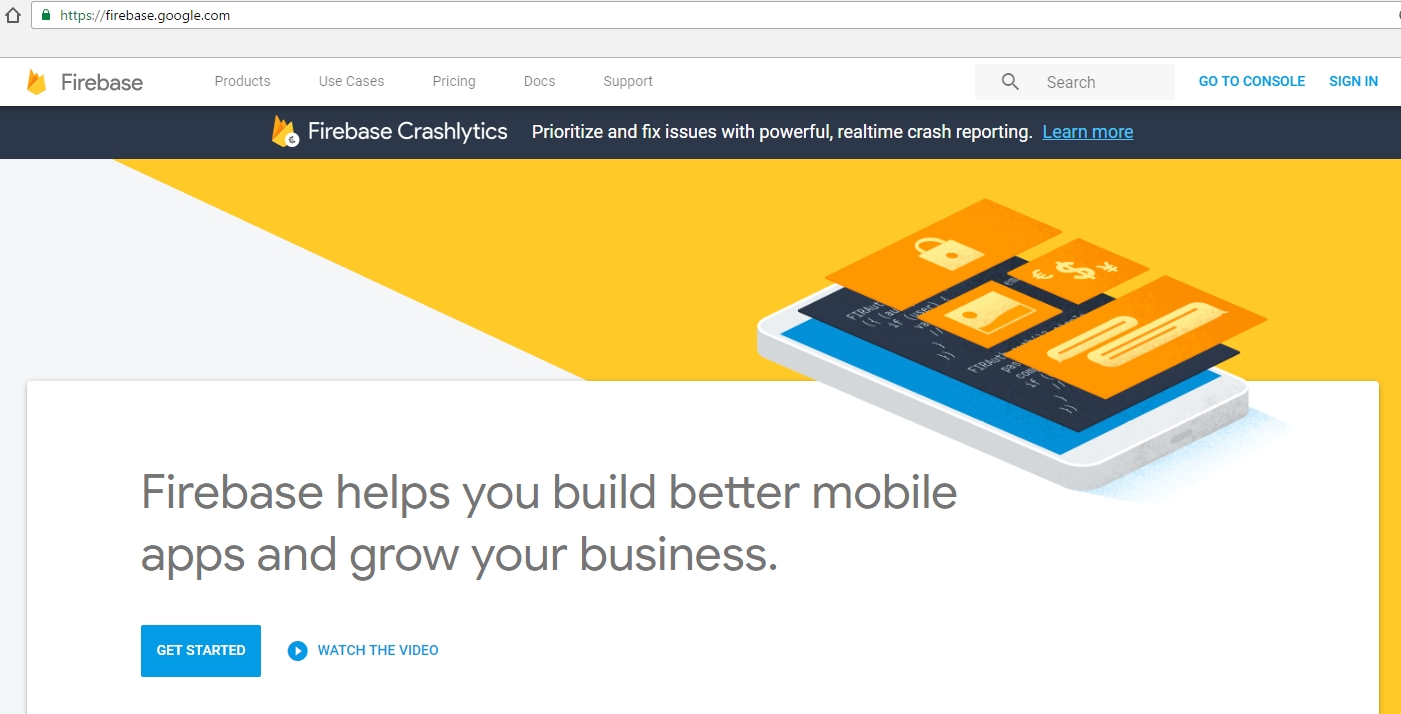
Next up, we will Google Firebase Cloud Messaging (FCM) for Android Push Notifications. In case you wonder, FCM replaces Google Cloud Messaging (GCM).
Before proceeding further with the steps below, it’s best to have a Google account already setup.

Start by navigating to https://console.firebase.google.com. Then log in with a Google account.


Now, copy the value of Server key to be used as the GCM API Key value. Do the same for the value of Sender ID to be used as the GCM Sender ID value. We will enter these in the BEMS dashboard later.

Back to the BEMS dashboard.

Now that BEMS has been configured, we need to take additional steps within the UEM console to enable mail push notification for Blackberry Work (iOS and Android). Refer to the section titled Configure BlackBerry Work connection settings within the BlackBerry Work Notes and Tasks 12.x Administration Guide for further details.
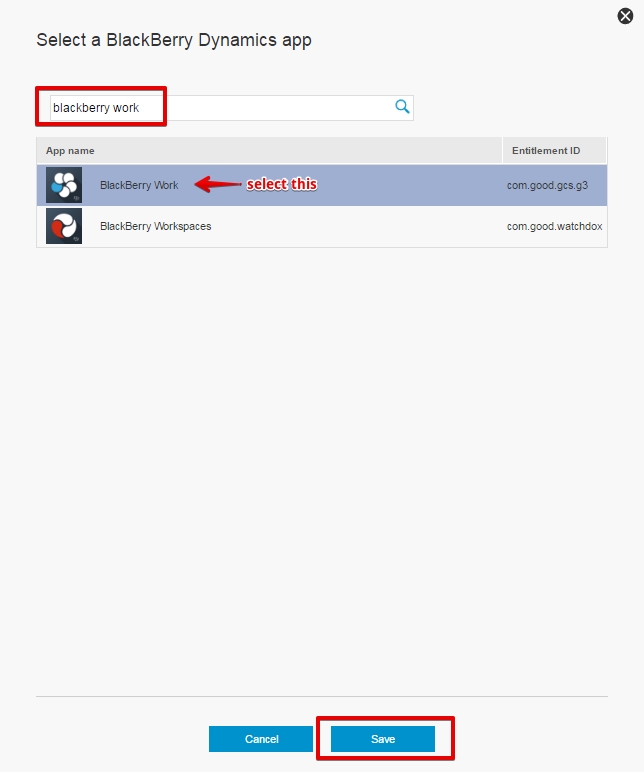
Within the UEM console, click Policies and Profiles and then click on Connectivity (BlackBerry Dynamics). Then click on the profile of interest.

Click on the pencil icon to modify the profile.

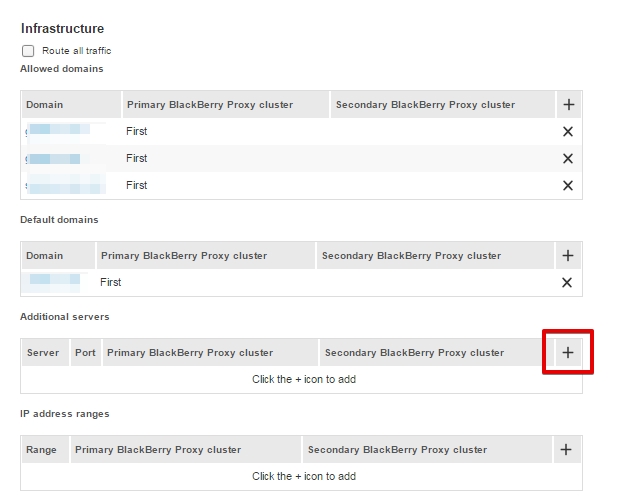
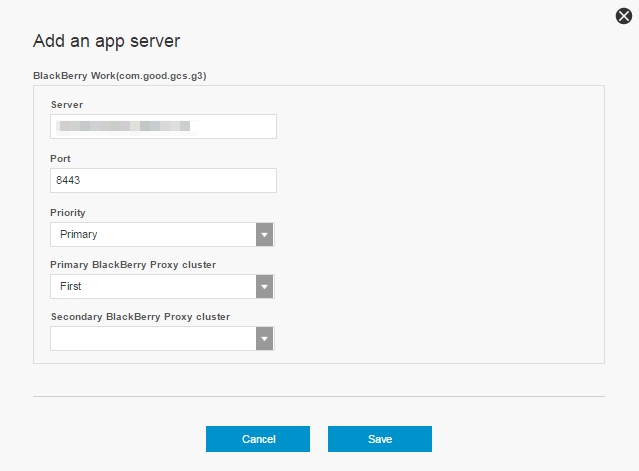
Add your Exchange ActiveSync server here.

Click on the plus sign again and add the BEMS host(s) as FQDN.

You may then end up with the below.
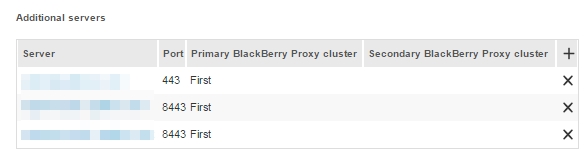
Take additional steps below under App servers.


We did it! There are many other features we can configure with BEMS. Again, refer to the BlackBerry Work Notes and Tasks 12.x Administration Guide for further details.
A word of caution here before we wrap up this part of the series. From my experience, enabling mail push notification can drain your battery faster than usual depending on the volume of activity with your mailbox.
Let’s move onto the part 3 of this series: Troubleshooting.

[…] Part 2: Configuration […]
LikeLike