
In part 1 of this series, we reviewed briefly what Blackberry UEM is. We also completed a list of prerequisites which are critical for a successful install. In this post, we will proceed with installing Blackberry UEM. Let’s begin!
Right click on UEM-12.7.2-Extractor and run as administrator

Extract to the location of your choice.


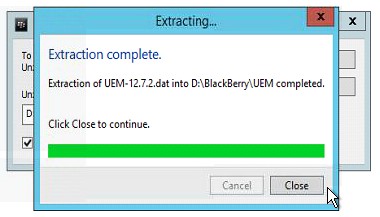
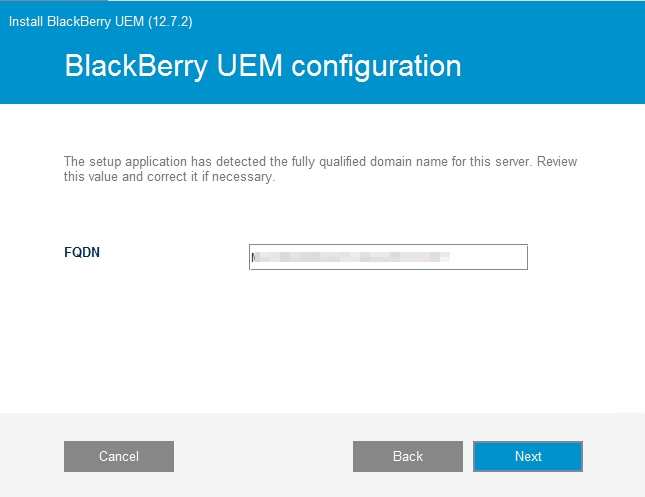
Click Install and follow the rest of the prompts accordingly. Obviously, you should adjust the values that pertain to your environment.


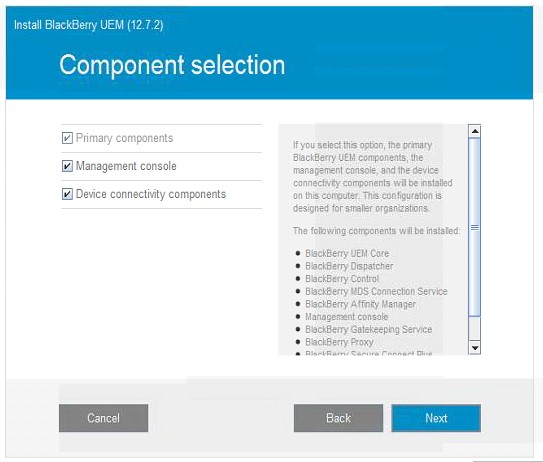
Since my environment is relatively small with separate SQL server, I chose to install everything on the same UEM server. Again, your setup may vary depending on your need.


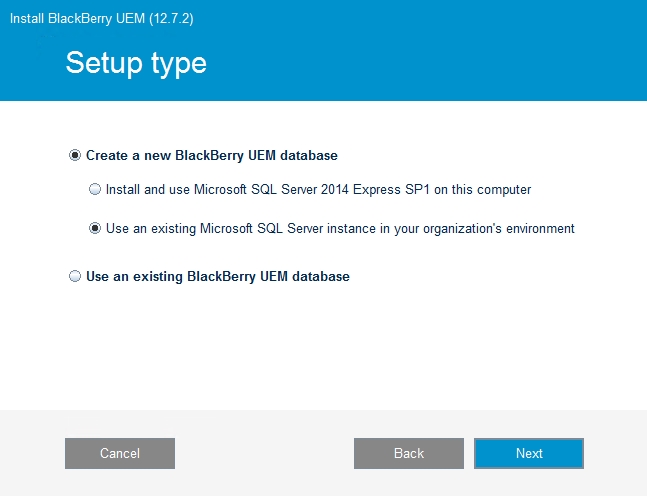
Since this is the first UEM server, I will create a new Blackberry UEM database and Blackberry Control database.

It looks like there is a bug with the installer as I’ve come across the same issue with previous versions as well. As you can see below, it appears as if nothing is pre-filled under Log file folder.
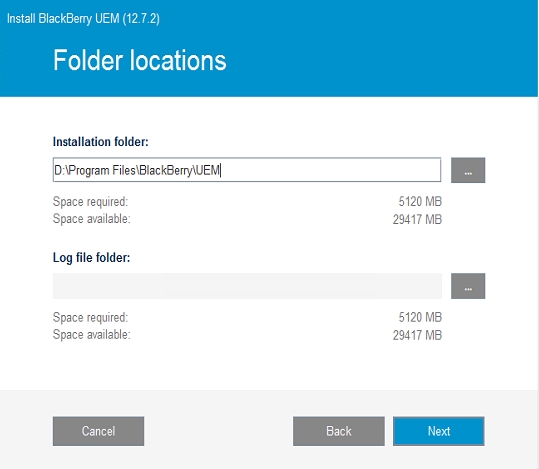
However, it is in fact pre-filled if you move your mouse across this field.


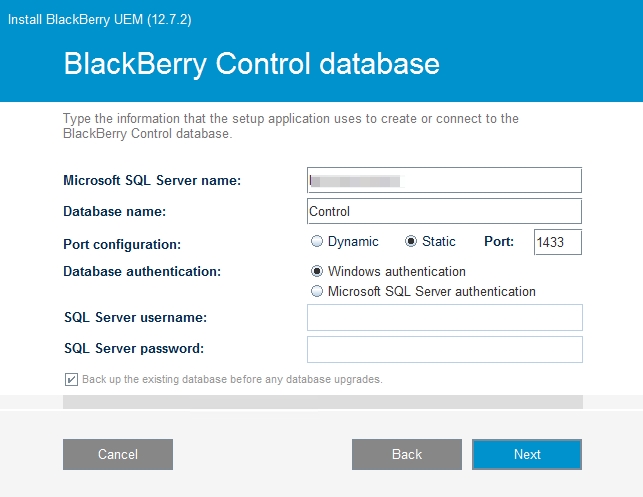
As I mentioned in part 1 of this series, you must grant the service account db_creator privilege in SQL environment. The reason is that you cannot specify a different service account during installation (i.e. the Windows username field is pre-filled with the same account used for installation.)

Review everything once more and click Install.


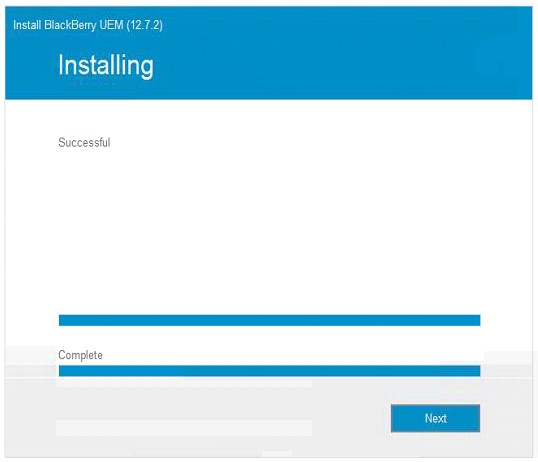
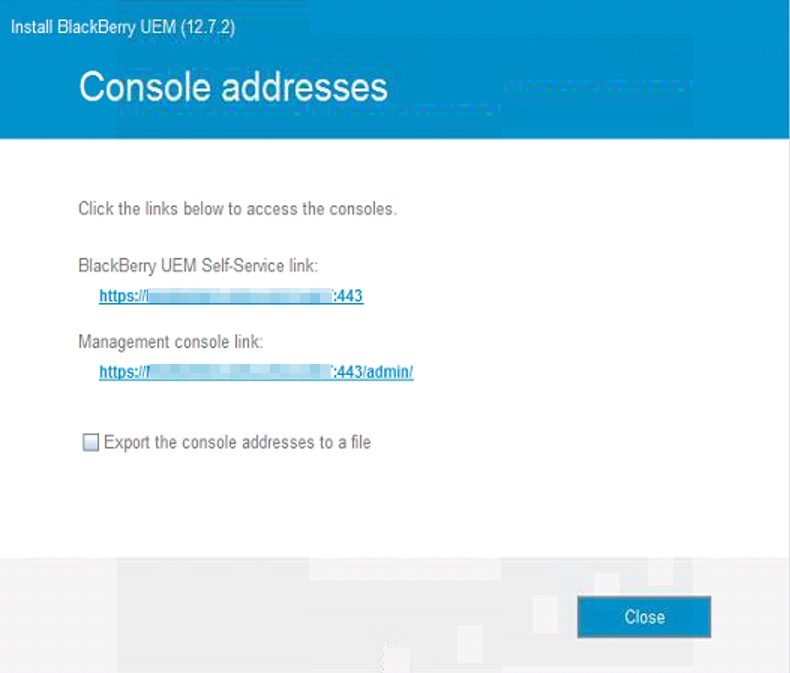
Once installation completes, you can verify the version of UEM installed under Programs and Features.

You can also verify that relevant Windows services are running except for Blackberry UEM – Blackberry Control Service and Blackberry Proxy Service if this is your first node. One reason is because the server does know which account it will be associated with until you enter the SRP information into the management console (see details in part 3 of this series.)
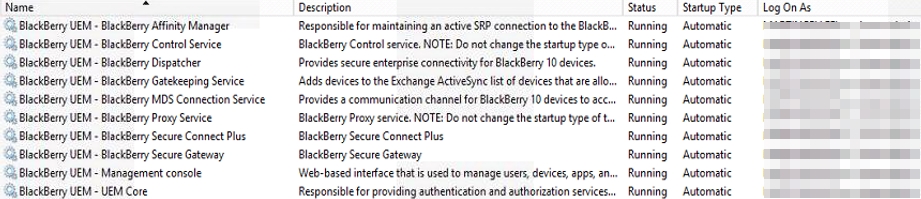
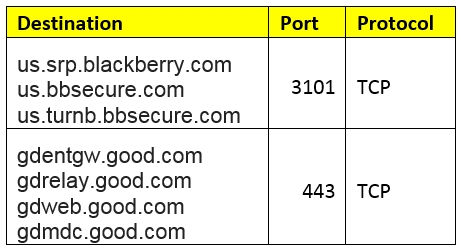
Another reason why Blackberry UEM – Blackberry Control Service and Blackberry Proxy Service don’t start could be related to firewall where the Blackberry UEM server is unable to connect to any of the destination below via applicable ports.
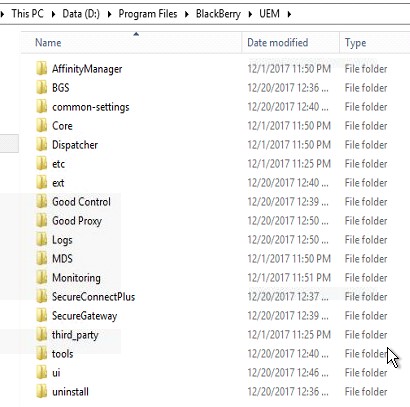
Last but not least, you can verify the new folder structure.
If you have additional UEM host(s) to install, simply follow the same prerequisites in part 1 of this series. Then during installation, select Use an existing Blackberry UEM database under Setup type for Blackberry UEM database. You will be prompted to enter information for Blackberry UEM database only but not for Blackberry Control database.

Congratulations! You are now half way through the implementation process. In part 3 of this series, I will cover configuration. Stay tuned!

[…] Part 2: Installation (single node and multiple nodes) […]
LikeLike
[…] and installation, it’s time to proceed with configuration. Or you can return to part 1 or part 2 of this series which describes the prerequisites and installation in […]
LikeLike
[…] Part 2: Installation (single node and multiple nodes) […]
LikeLike
[…] Part 2: Installation (single node and multiple nodes) […]
LikeLike
[…] Part 2: Configuration […]
LikeLike