
This issue comes up more often than any admin would like, but it could happen if you have the setup below.
Basically, you can enable/disable Device pairing within a DEP profile. I usually suggest leaving this enabled and using the restriction payload to disable device pairing.

Within this restriction payload, you can also enable/disable device pairing. For security purposes, however, most would keep this disabled until it’s needed.

For additional security and for the purpose of this post, you may also disable the ability to perform device wipe manually through the setting below.

Within the same restriction payload, you can also enable Force Wi-Fi Whitelisting to ensure only pre-configured SSID is allowed on a particular device.

The general guideline from VMware support is that you should only have one payload per profile for various reasons (i.e. easier to pinpoint which profile is at fault, etc.) But what if you apply a WiFi profile and also a separate restriction profile with the below to the same device?
- Force Wi-Fi Whitelisting – enabled
- Allow pairing with non-Configurator hosts – disabled
- Allow Erase All Contents and Settings – disabled
Chances are the WiFi whitelisting will apply first before the device gets to connect to the specific WiFi configured within the separate profile. As a result, you now have a locked down device with no network connectivity, no device pairing capability, and a non-removable MDM profile. You cannot reset the device either as it was disabled as well (if you could, you would have modified the profiles assigned to the device without any of the restriction listed above and start over.)


Fear not, we can restore functionality by putting the device in Device Firmware Upgrade (DFU) mode with iTunes. The steps may vary depending on your device model, but generally speaking:
- Power off your device.

- Connect your device to your PC or Mac and launch iTunes. Then, immediately press and hold both the Sleep/Wake button and the Home button for 8 seconds.
- Keep pressing the Home button but let go of the Sleep/Wake button
- Let go of the Home button and click Restore when prompted in iTunes
The same steps can also be used if your toddler locked your iOS device for 48 years.
For iPhone 7 where the home button is controlled by software, press and hold both the Sleep/Wake button and the Down button instead.


You may get the prompts below if the version of iOS is older than what’s currently available.
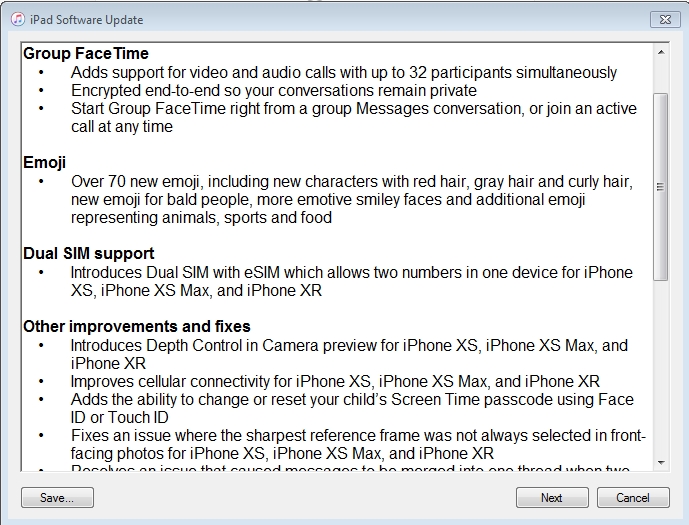
If this is your first time restoring the device, iTunes will first download the software before it’s installed onto your device.

Sometime after, your device is ready to be used again!

If you encounter the error below, try the link to troubleshoot.
If you see an error when you update or restore your iPhone, iPad, or iPod

A crisis has been averted. As always, stay mobile!
