
As with any 3rd party iOS or Android app, Blackberry Work doesn’t provide real-time notification natively. Similar to VMware AirWatch Email Notification Service (ENS), Blackberry offers push notification with Blackberry Enterprise Mobility Server (BEMS).
BEMS offers more than just push notification. It also offers the additional services below:


Similar to my other series of posts on Blackberry UEM implementation, these series focus on Blackberry Push Notifications. Once it’s setup, however, it can be used for other services as well.
- Part 1: Installation (you are here!)
- Part 2: Configuration
- Part 3: Troubleshooting
Before we can dive into the installation, we need to review and fulfill all the requirement listed per Blackberry site. Below is a summary of the target area:
- Infrastructure
- Build server(s) and join it to the domain
- Install Java Runtime Environment (JRE) 8 or later and set the JAVA_HOME environment variable (see details further below)
- Service Account
- Create a Microsoft Active Directory account for the BEMS service account
- Make sure BEMS service account is a local administrator on the server
- Grant BEMS service account with Log on as a service permission

- Exchange
- Create a Microsoft Exchange mailbox for the BEMS service account
- Grant the BEMS service account with application impersonation permissions (usually by adding the account to Exchange Application Impersonation group in Active Directory)

- Database
- Create a database (i.e. BEMSDB)
- Grant BEMS service account db_owner privileges to such database
- Firewall – review this link for details, but in general,
- Inbound TCP:
- 61616, 61617 bidirectional
- 8443 from Blackberry Proxy server (8181 if SSL is not to be used)
- Outbound TCP:
- 443 to Blackberry Dynamics NOC/APNS
- 443 to Firebase Cloud Messaging (FCM)
- 443 to MS exchange server
- 17080 to Blackberry Proxy server (17433 for SSL)
- 61616, 61617 bidirectional
- Inbound TCP:
- Anti-virus scanning exclusion
- Directories: C:\blackberry (for bemslogs) and C:\Program Files\BlackBerry
- Windows Service: Good Technology Common Services
The screenshot below was taken after BEMS is installed. Notice that under Log On As is set to Local System. This should not be the case as we did specify the service account during installation (detailed further below on this post). With this setup, it will cause connectivity issue during configuration (detailed in part 2 of this series). The solution is to update it with the same service account.
From:

To:

As for the version of JRE to be installed, make sure to review the compatibility matrix. If you have multi-subnet setup (i.e. servers in two geographical locations with different IP subnets), you may also want to consult with Blackberry technical support as well. During my implementation, I had to install a specific version of JRE versus the latest one due to a compatibility issue with the multi-subnet environment.
If you ever update Java, you must re-install BEMS to update the applicable registry.

After JRE is installed, we then need to make sure to set the JAVA_HOME environment variable accordingly within System Properties -> Advanced -> Environment Variables. Otherwise, installation of BEMS will fail.

Create a new or edit an existing system variable called JAVA_HOME.

Edit the Path variable by appending JAVA_HOME variable (i.e. ;%JAVA_HOME%\bin)

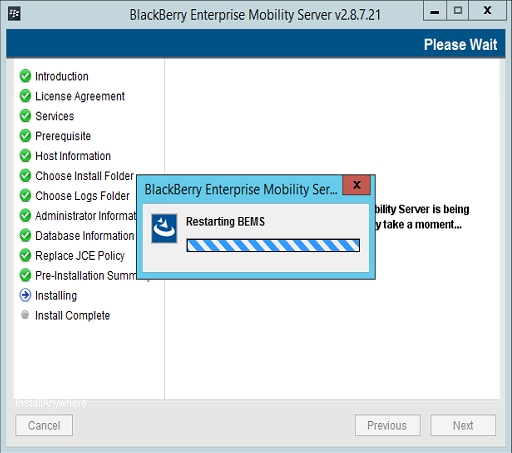
Once the above is completed, download and save the installer to the server. Then proceed with installation of BEMS.


Below is the default value for the database. You can change it accordingly.


Upon clicking Done on the last prompt, a browser opens automatically to the dashboard.

If you install an additional instance of BEMS in your environment, simply follow the same steps above.
That’s it for now. Be sure to go to part 2 of this series where we will go in-depth with configuration for mail push notification.

[…] Part 1: Installation […]
LikeLike
Admiring the dedication you put into your website and in depth information you provide. It’s awesome to come across a blog every once in a while that isn’t the same outdated rehashed information. Great read! I’ve saved your site and I’m adding your RSS feeds to my Google account.
LikeLike